Categories
Survival

Rainwater Collection Guide: How to Harvest Clean Water When the Grid Fails

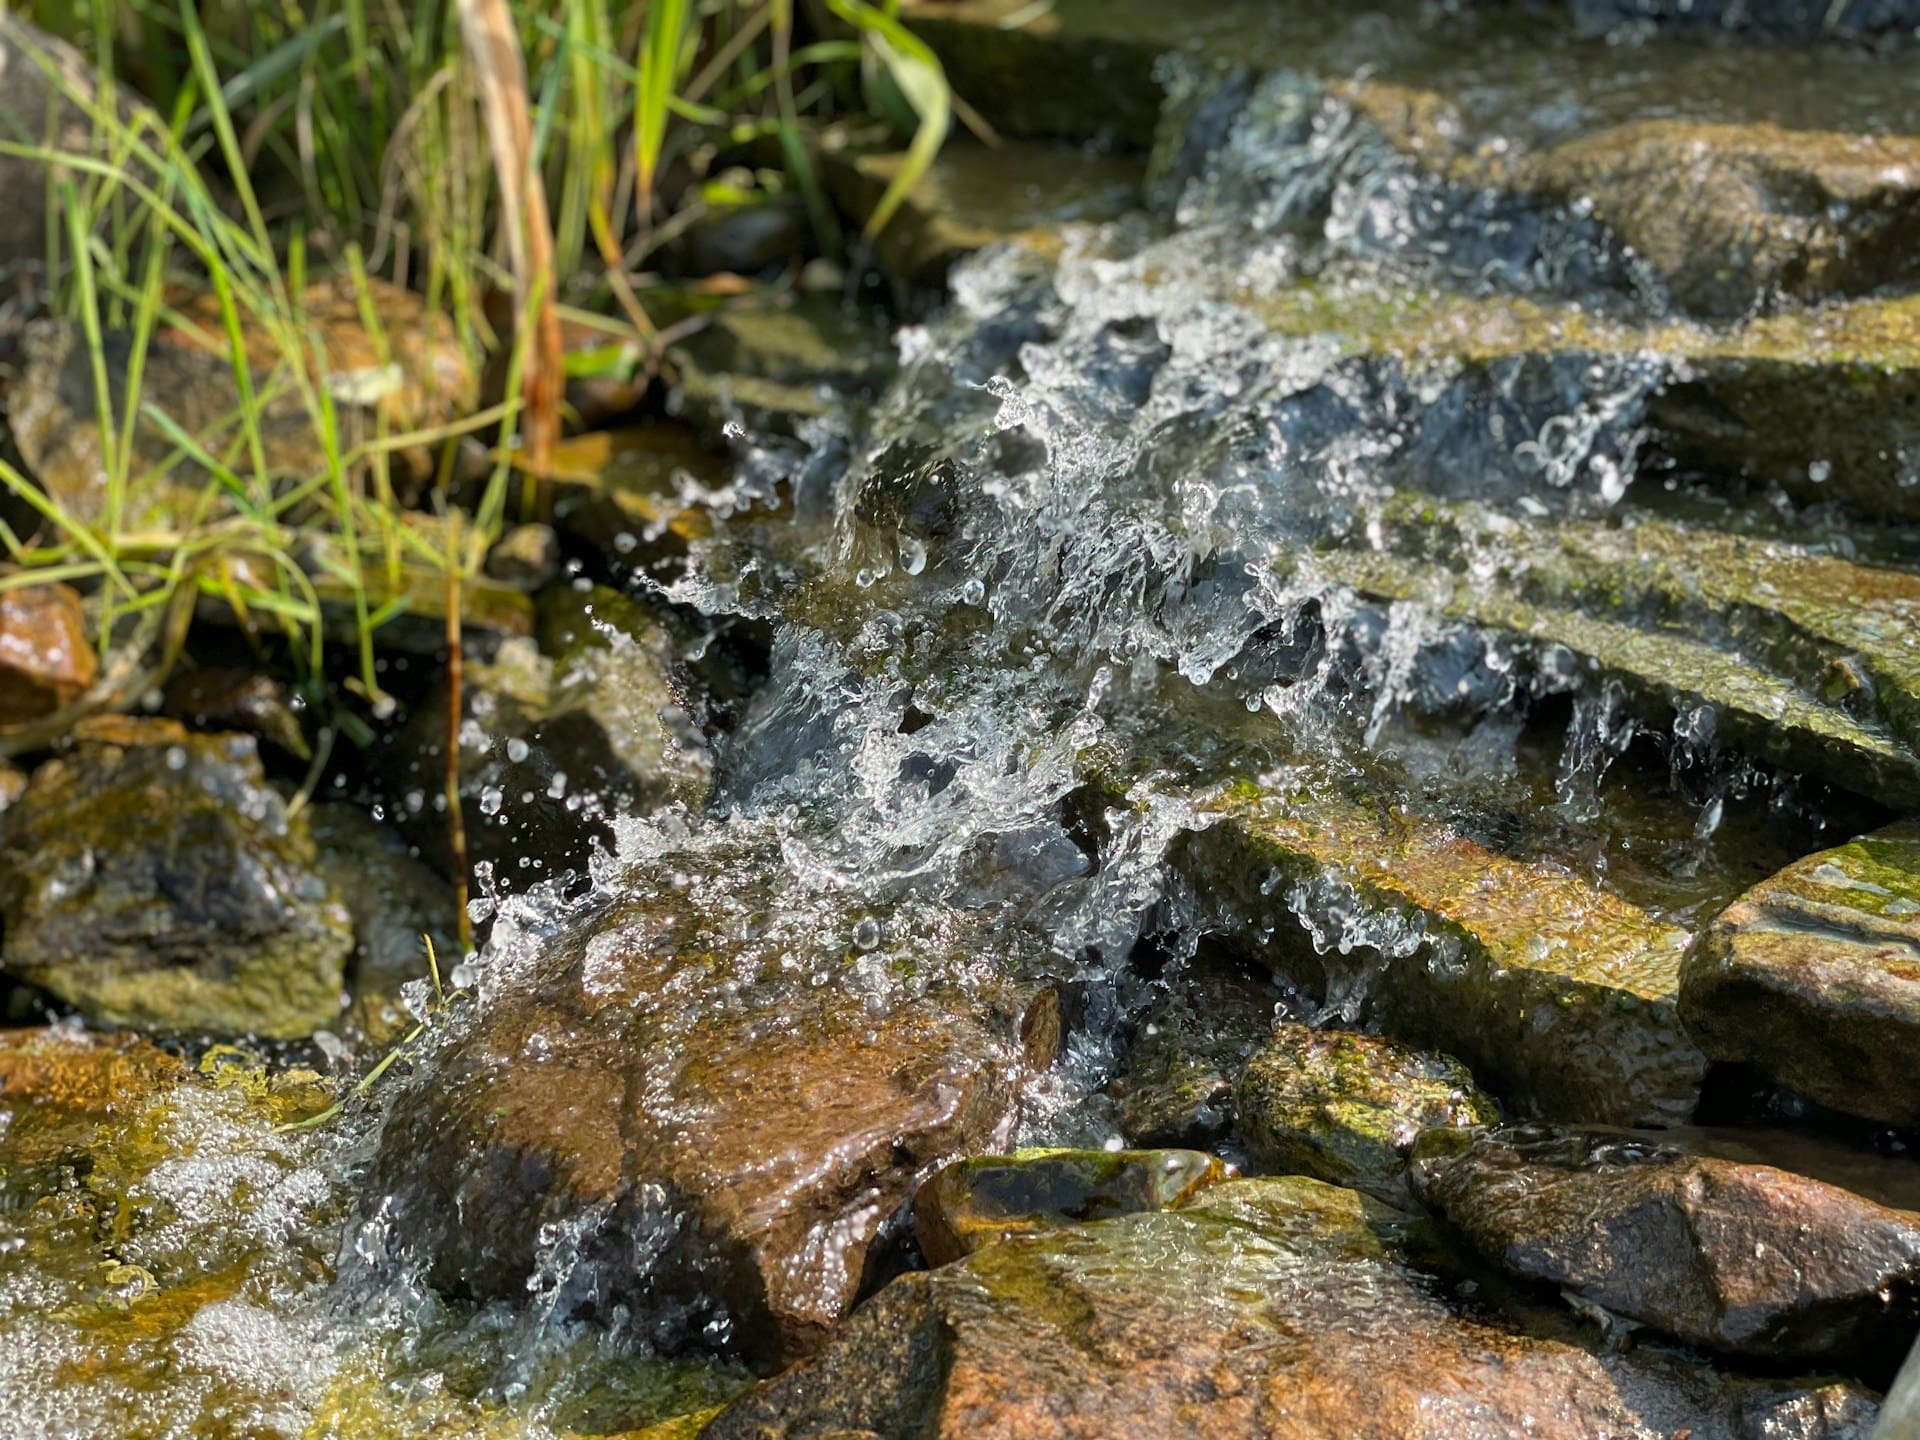
When the taps stop flowing, the rain becomes more than weather—it becomes your lifeline. Every storm is a chance to fill barrels, tanks, and bottles, while everyone else stares at empty shelves. But rainwater isn’t just there for the taking. Collecting it safely and storing it properly takes foresight and a bit of know-how.

This is your guide to building a rainwater collection system that can keep you alive through blackouts, supply chain chaos, or long-term collapse.


Why Rainwater Collection Is a Survival Essential

Modern water systems rely on fragile infrastructure—power stations, treatment plants, pumping lines. One lightning strike or cyberattack and the whole chain snaps. Within 24 hours, bottled water is gone. Within three days, riots start over the last cases of cheap supermarket brands.

Rain is your insurance policy. It’s free, renewable, and with the right gear, it can keep you hydrated, clean, and cooking long after the system fails.


How Much Rainwater Can You Collect?

The amount you can harvest depends on your roof size and the rainfall in your area. The maths is simple:

  • 1mm of rain on 1m² of roof = 1 litre of water.
  • A 50m² roof in a moderate storm (10mm rainfall) yields 500 litres (110 gallons) in a single downpour.

Even in drier climates, consistent collection can give you hundreds of litres a month—enough to cover drinking and hygiene for a small family.


Setting Up a Rainwater Collection System

You don’t need a fancy setup to start. Here’s a step-by-step plan to get water flowing:

  1. Gutters and Downspouts
    • Make sure they’re clean and lead to a single downspout for easy collection.
    • Avoid lead-painted or rusty gutters (contaminants are deadly).
  2. First-Flush Diverter
    • A simple device that dumps the first few litres (washing away dirt, bird droppings, and debris) before water enters your tank.
  3. Collection Barrel or Tank
    • Food-grade barrels (200+ litres) or IBC totes (1,000 litres) are ideal.
    • Place on a sturdy stand so you can gravity-feed water.
  4. Filter and Screen
    • A fine mesh keeps out leaves, insects, and rodents.
    • For drinking, add a ceramic or carbon filter before use.
  5. Overflow Management
    • Always direct excess water away from foundations to prevent flooding.

Purifying Rainwater for Drinking

Rainwater starts clean but picks up contaminants from your roof and storage. Before drinking:

  • Boil it for at least one minute (or longer at high altitudes).
  • Use a portable water filter (e.g., Berkey, Katadyn, Sawyer) for bacteria and protozoa.
  • Disinfect with bleach – 2 drops per litre, stir, wait 30 minutes.
  • Activated carbon filters remove chemical residues and improve taste.

Store the treated water in sealed containers, away from sunlight, for long-term safety.


Rainwater Collection for Hygiene and Crops

Not all rainwater needs to be drinking-grade. Set aside non-potable tanks for:

  • Flushing toilets.
  • Washing clothes and dishes (with biodegradable soap).
  • Watering gardens, even during drought restrictions.

Keeping your potable supply separate ensures you don’t waste filtered water on chores.


Quick Checklist: DIY Rainwater Harvesting

  • Clean gutters and downspouts to avoid contamination.
  • Install a first-flush diverter to discard dirty runoff.
  • Use food-grade barrels or tanks with screens.
  • Treat water with boiling, filtering, or bleach before drinking.
  • Keep potable and non-potable supplies separate.

Final Warning

Water is life, and in a prolonged grid-down event, every drop counts. Those who start now—before the taps run dry—will watch the storms roll in with confidence, while their neighbours pray for bottled water deliveries that never come.

Set up your rainwater collection system today. When the next crisis hits, you’ll thank yourself every time you hear the sound of rain hitting your roof.

Categories
Survival

Emergency Water Storage Guide: How to Secure Clean Water Before It’s Too Late

When disaster strikes, the first thing to vanish from supermarket shelves isn’t food—it’s water. And when the taps run dry, it’s not just thirst you’ll be battling. Hygiene breaks down, disease spreads, and survival becomes a ticking clock.

Most people underestimate just how quickly water becomes a crisis. You can survive three weeks without food, but three days without water? You’ll be crawling. This guide will show you how to build and protect your emergency water storage, so when the grid goes down or the supply chain fractures, you’ll still have life’s most critical resource.


How Much Water Do You Really Need?

The official advice is 4 litres (1 gallon) per person per day—2 litres for drinking, 2 for hygiene and cooking. But that’s the bare minimum. If you’re in hot weather, working hard, or caring for the sick, that figure easily doubles.

For a family of four preparing for a two-week disruption, you’ll need at least:

  • 112 litres (30 gallons) minimum for survival.
  • 200 litres (50+ gallons) for a more realistic buffer.

And don’t forget pets—they’ll need clean water too.


Choosing the Right Water Containers

Not all containers are created equal. You can’t just fill old milk jugs and hope for the best. Certain plastics leach chemicals, and thin bottles will split or grow mould over time. Here’s what you should use:

Safe Storage Options

  • Food-grade plastic barrels (55-gallon/208-litre drums) – Ideal for long-term storage in garages or basements.
  • 7–10 litre (2–3 gallon) stackable jugs – Easy to carry during evacuations.
  • Collapsible water bladders – Space-saving for bug-out bags and last-minute fills.
  • Glass bottles or stainless steel containers – Best for smaller, portable amounts where purity is critical.

Avoid any plastic not marked “food-safe”, and never use old detergent or chemical containers, even if scrubbed—they’ll poison your supply.


Purifying Your Water Before Storage

Even tap water can degrade over time. Storing it correctly is half the job; purifying it is the other. Here are proven methods to keep it safe:

  1. Boiling – The most basic and reliable. One minute at a rolling boil kills almost all pathogens.
  2. Household bleach (unscented) – Add 2 drops per litre (8 drops per gallon), stir, let stand 30 minutes.
  3. Commercial water preservatives – Products like Aquamira keep water safe for up to 5 years.
  4. Filters – Gravity-fed ceramic filters or portable systems (e.g., Berkey, Sawyer) can remove bacteria, protozoa, and sediment before sealing your water.

Once treated, store water in sealed containers away from sunlight and chemicals, ideally in a cool area.


Long-Term Storage: How to Prevent Contamination

Stale water isn’t just unpleasant—it’s dangerous. Follow these tips to make sure your supply doesn’t betray you when you need it most:

  • Rotate every 6–12 months unless using stabilised water with preservatives.
  • Keep it dark and cool – Heat and light promote algae and bacterial growth.
  • Label your containers with the fill date and purification method used.
  • Elevate barrels off concrete floors – Prevents leaching and cracking.
  • Check seals monthly for leaks or odours.

Emergency Water Sources When Supplies Run Dry

Even the best stockpile runs out eventually. Know where else to find water when things get desperate:

  • Hot water tanks (in most homes, they hold 40–80 litres of potable water).
  • Toilet tanks (NOT the bowl)—only use if chemicals haven’t been added.
  • Rainwater harvesting – Use a clean tarp or gutter system, then filter and boil.
  • Natural sources – Streams, ponds, or rivers, but ALWAYS filter and purify first.

Remember: in a grid-down world, even a muddy puddle can be a lifesaver if treated correctly.


Quick Checklist: Building Your Emergency Water Storage

  • Store at least 4 litres per person per day (double in hot conditions).
  • Use food-grade barrels, jugs, or stainless steel containers.
  • Treat water with bleach, boiling, or commercial stabilisers.
  • Keep containers sealed, labelled, and rotated regularly.
  • Identify backup water sources (rain, tanks, natural sources).

Final Word

Civilisation is a fragile thing. A storm, cyberattack, or a few days of panic buying can leave your taps bone dry. Those who wait for the crisis to start preparing will be the first to feel desperation set in.

Start building your emergency water storage now. Every litre you store today is a day of life tomorrow—when everyone else is standing in a queue with empty bottles, wondering why they didn’t act sooner.

Categories
Survival

Water Purification Guide: How to Stay Alive When the Taps Stop Flowing

Introduction

If you think the taps will keep running forever, you’re gambling with your life. Water — the most basic resource — is often the first to vanish when disaster strikes. Whether it’s a grid failure, a chemical spill, or a breakdown in supply chains, clean water can turn scarce overnight. In this guide, I’ll walk you through the essential methods of water purification — tools, techniques, and mindset — so you’re never left desperate or dehydrated.


Why Water Purification Should Be Every Prepper’s Priority

It only takes three days without water for most people to collapse. Modern cities depend on fragile infrastructure: a few hours of power cuts, and pumps stall; one industrial accident upstream, and your tap water’s poisoned. By the time the government tells you “it’s safe again,” you could be days into dehydration or illness.

What can go wrong when you ignore purification?

  • Waterborne diseases like cholera, giardia, and dysentery.
  • Chemical contaminants from industrial leaks.
  • Panic buying of bottled water (gone in hours).
  • Rivers and lakes crawling with parasites.

The truth? You can’t afford to trust what you drink — not when the world feels this brittle.


Methods of Water Purification Every Prepper Must Know

1. Boiling – The Last Resort (But Always Works)

Boiling remains the simplest, most effective way to kill pathogens. Bring water to a rolling boil for at least one minute (three if you’re above 2,000 metres). It won’t remove heavy metals or chemicals, but it will save you from parasites and bacteria.

Checklist for Boiling Water:

  • Heat source (stove, fire, or portable burner).
  • Metal pot or heat-resistant container.
  • Time — don’t rush; pathogens die only at sustained high temperatures.

2. Filtration – Fast, Portable, and Reliable

Modern filters can remove 99.9% of bacteria and protozoa, some even heavy metals and microplastics. Brands like Sawyer Mini or LifeStraw weigh nothing and work straight out of the box.

Quick Gear Guide (Field-Tested):

  • Compact straw filters for bug-out bags.
  • Gravity filters for campsites.
  • Spare filter cartridges (they clog fast in muddy sources).

Anecdote: I’ve seen groups scoff at carrying filters, only to be struck down by giardia on day two of a trek. The toughest lads drop quickest when diarrhoea hits.


3. Chemical Treatment – The Lightest Option

Chlorine dioxide tablets and iodine drops can make sketchy water safe. They’re small, cheap, and lifesaving — but they leave a taste. Always carry a few in your kit as a fallback.

Steps for Chemical Purification:

  1. Collect clear water (pre-filter through cloth if muddy).
  2. Add tablet or drops as directed.
  3. Wait the full reaction time (often 30–60 minutes).
  4. Keep the bottle sealed while treating.

Advanced Prepping: Rainwater, Distillation, and Beyond

When society stumbles for more than a few days, even clean rivers and lakes will be stripped bare or fouled. Collecting rainwater in barrels (with food-grade liners) can keep you ahead of the chaos. For chemical contamination, a basic distillation rig — a pot, tubing, and container — can turn deadly sludge into drinkable water.

Rainwater Checklist:

  • Food-grade barrels with secure lids.
  • Mesh screens to block debris.
  • First-flush diverters (to ditch roof grime).

Final Words

Don’t wait for a crisis to test your gear. Boil some dirty stream water, use that filter, practise with tablets — now, while the taps still run. Because one day soon, they might not. When that happens, those who prepared will drink clean while others line up, desperate and coughing, for government rations.


Want to make sure you’re ready? Subscribe to get our full survival water checklist — a printable guide covering every method, from rain barrels to DIY distillers.