Categories
Survival

Off-Grid Cabins Guide: How to Build or Find Your Survival Retreat

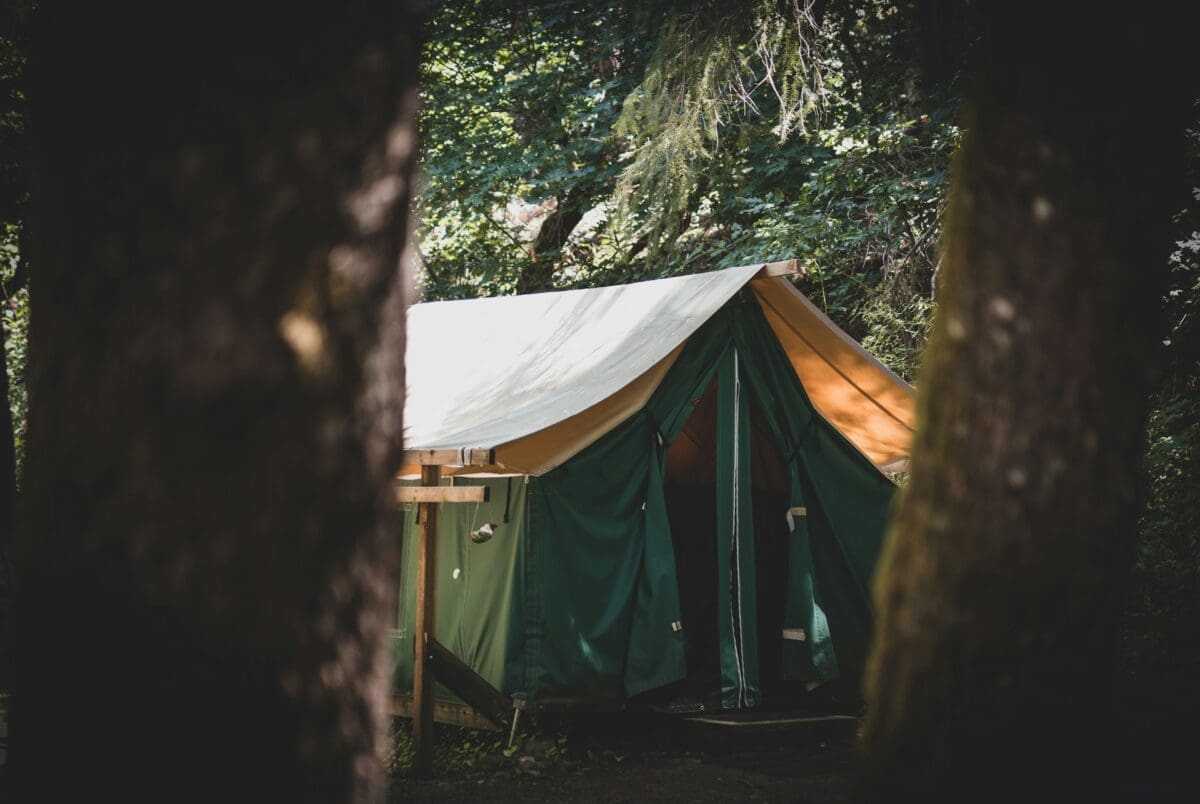
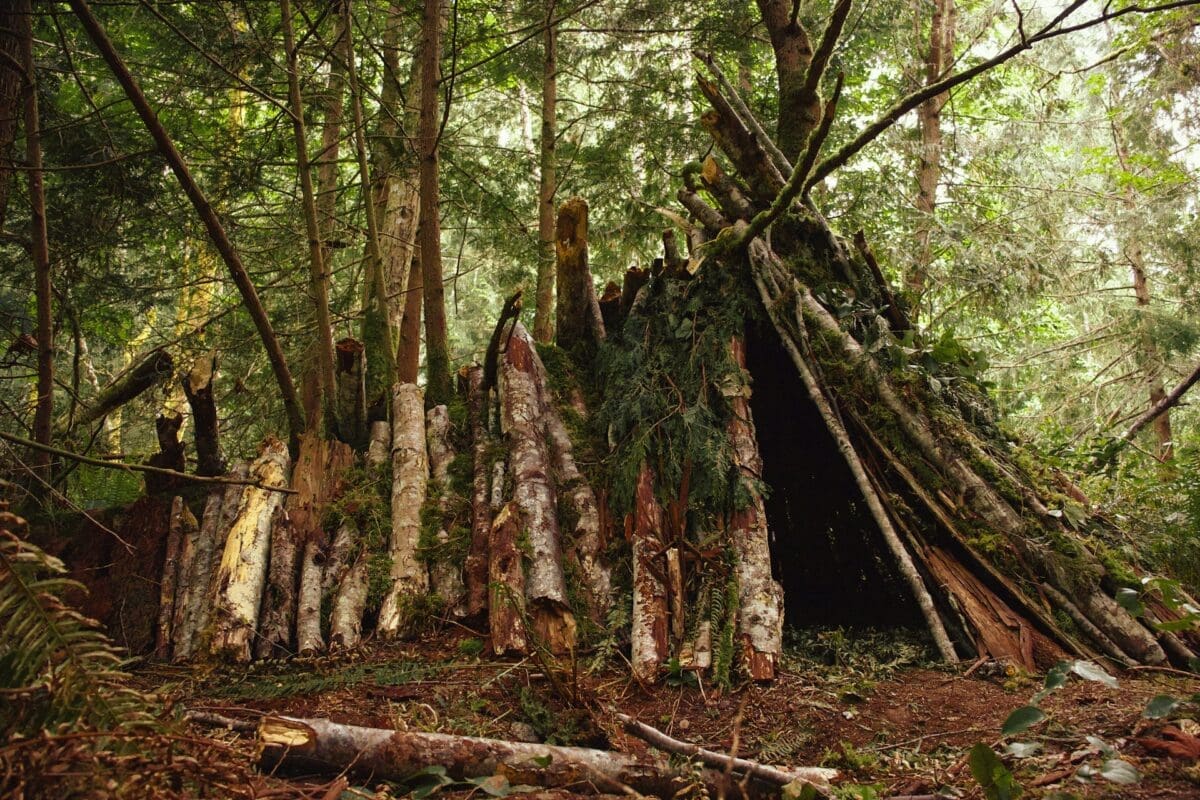
When the grid flickers and society starts to crumble, four walls and a roof won’t be enough. You’ll need a place that doesn’t rely on outside power, city water, or fragile supply chains—a true off-grid cabin.

This isn’t about rustic holidays. It’s about building or securing a retreat where you can stay fed, warm, and safe while the rest of the world unravels.


Why Off-Grid Cabins Are Survival Essentials

  • Independence from fragile systems – no grid, no bills, no dependence on collapsing infrastructure.
  • Security – remote cabins can be fortified and kept off most people’s radar.
  • Sustainability – harvest your own water, power, and food.
  • Resilience – survive months or years, not just days, when the chaos drags on.

Building or Choosing an Off-Grid Cabin

1. Location Comes First

  • Remote, but reachable – far from cities and highways but close enough for regular access.
  • Near natural resources – fresh water, timber, and wild food sources.
  • Avoid flood zones and wildfire paths.

2. Power Options

  • Solar Panels & Battery Banks – silent, renewable, reliable in most climates.
  • Wood Gasifiers or Small Generators – backups for long, dark winters.
  • Keep a manual power option (wind or hand-crank) for redundancy.

3. Water Systems

  • Rainwater catchment with filtration is a must.
  • Hand-dug wells or natural springs provide a permanent supply.
  • Always have gravity-fed backup in case pumps fail.

4. Heating & Cooking

  • Wood stoves for heat and cooking (fuel is abundant if you’re near timber).
  • Rocket stoves or solar cookers as secondary systems.

5. Security Measures

  • Reinforced doors and shutters.
  • Motion-detecting solar lights.
  • Concealed food and supply caches in case of raids.
  • Ideally, a natural barrier (steep terrain, dense forest) adds protection.

Essential Features Every Off-Grid Cabin Must Have

  • Insulation for all-season use
  • Reliable off-grid power and water
  • Multi-fuel heating and cooking
  • Food storage (root cellar or pantry)
  • Tools for repair and resource gathering
  • Defensive measures (physical and strategic)

Quick Checklist: Prepping Your Off-Grid Cabin

  • Solar, generator, and manual power backup
  • Water catchment and filtration system
  • Stocked pantry with preserved food
  • Wood stove with ample fuel reserves
  • Reinforced doors, shutters, and escape routes
  • Medical supplies and tools for self-reliance

Final Word

An off-grid cabin isn’t just a retreat—it’s your last line of defence when supply chains, cities, and the power grid fail. Build it, secure it, and stock it before you need it. Once the lights go out for good, only the prepared will last.

Categories
Survival

Emergency Tents Guide: The Fastest Shelter When Disaster Strikes

When the storm hits, there’s no time to build walls from branches or dig a snow cave. Sometimes, all you’ve got is what you carried—and that’s where emergency tents become lifesavers.

A good tent isn’t a camping luxury; it’s a barrier between you and the cold, the wet, and the chaos. In survival situations, choosing the right one could be the difference between making it through the night or not making it at all.


Why Emergency Tents Matter More Than You Think

  • Exposure kills fast. Hypothermia and heatstroke can strike in hours.
  • A tent provides instant wind and rain protection when natural shelter isn’t an option.
  • They’re portable, meaning you can move fast without leaving protection behind.
  • Many double as signal tools or heat traps, keeping you visible or warm depending on your needs.

What to Look for in an Emergency Tent

  1. Weight vs Durability
    • Ultralight models are easy to carry but fragile.
    • Heavier expedition tents handle extreme weather but are bulkier.
  2. Setup Speed
    • Instant pop-up or tube-style tents are best when seconds count.
    • Avoid complicated pole systems in crisis scenarios.
  3. Weatherproofing
    • Look for waterproof ratings (3,000mm+ hydrostatic head) and reinforced seams.
    • Snow flaps or wind skirts can save your life in blizzards.
  4. Heat Retention
    • Reflective liners trap body heat.
    • Consider bivvy sacks or thermal layers for sub-zero conditions.
  5. Visibility & Camouflage
    • Bright colours make rescue easier.
    • Neutral greens and browns keep you hidden if discretion is vital.

Types of Emergency Tents Worth Carrying

1. Bivvy Sacks (Ultra-Compact)

  • Weighs almost nothing, fits in a pocket.
  • Provides wind and rain protection for one person.
  • Reflective versions trap body heat, but space is minimal.

2. Tube Tents (Instant Setup)

  • Simple plastic or Mylar tubes—string between two trees for instant cover.
  • Not comfortable, but fast and effective for wind and rain.

3. 4-Season Survival Tents

  • Proper expedition-grade shelters built for snow and storms.
  • Bulkier but crucial if you’re travelling in hostile climates.

4. Pop-Up Shelters

  • Perfect for rapid deployment in moderate weather.
  • Limited durability in storms—always anchor securely.

How to Make Any Tent More Survivable

  • Ground Insulation: Lay pine boughs, blankets, or foam mats to avoid heat loss.
  • Wind Barriers: Use natural cover or build a wall of snow or logs to block gusts.
  • Fire Reflection: Pitch near a safe, reflective fire wall to bounce warmth inside.
  • Double Up: Use a bivvy inside a tent for added heat and redundancy.

Essential Tent Kit Checklist

  • Lightweight emergency tent or bivvy
  • Paracord and stakes (never trust factory kits)
  • Mylar blanket or reflective tarp (adds insulation)
  • Ground mat or inflatable pad
  • Repair tape and extra guy lines

Final Word

When disaster strikes, a solid emergency tent can buy you precious hours—or even save your life outright. It’s not about comfort. It’s about staying dry, warm, and alive when the elements turn hostile and there’s no roof but the one you brought.


Categories
Survival

Building a Survival Shelter Guide: Stay Alive When the World Turns Hostile

When the weather turns brutal and the grid collapses, a roof over your head is the difference between surviving and becoming another statistic. Your first priority isn’t food or even fire—it’s shelter. Without it, you can freeze or overheat in hours.

This isn’t about a fancy log cabin or a Pinterest bushcraft hut. This is about building fast, strong, and simple shelters that will keep you alive when civilisation abandons you.


Why Shelter Comes Before Everything Else

Most people think they’ll last days without food or water. They won’t. Exposure kills faster than hunger.

  • In freezing rain or wind, hypothermia can strike in under an hour.
  • In desert heat, heatstroke can end you before the sun sets.

Your body can’t fight or flee when it’s burning energy to survive the elements. Shelter buys time.


Choosing the Right Shelter Location

Before building anything, location is survival. Look for:

  • High Ground – Avoid valleys where cold air and floodwater collect.
  • Natural Cover – Trees, rock overhangs, or dense foliage offer instant protection.
  • Proximity to Resources – Near water, firewood, and materials, but away from predator paths.
  • Wind Protection – Hills or boulders can shield you from exposure.

Avoid floodplains, avalanche-prone slopes, and insect swarms.


Types of Survival Shelters (You Can Build Anywhere)

1. Debris Hut (No Tools Needed)

  • Lean a sturdy ridgepole against a fallen tree or rock.
  • Cover it with sticks, then pile on knee-deep leaves, grass, or pine needles for insulation.
  • Crawl inside—body heat will keep it warm even in near-freezing conditions.
  • Survival Time: Up to 1–2 nights without fire.

2. Lean-To Shelter (Quick Wind Break)

  • Drive two posts into the ground or prop against trees.
  • Lean branches against the posts to form a wall angled toward the wind.
  • Add a reflective fire wall opposite your shelter to bounce heat back.

3. Tarp or Poncho Shelter (Instant Roof)

  • A tarp or even a survival blanket can become a lifesaving roof.
  • Tie corners to trees or use stakes for a low, wind-resistant profile.
  • Combine with ground insulation (leaves, branches) to avoid heat loss.

4. Snow Cave or Quinzee (Winter Survival)

  • Pile snow into a mound, let it harden, then hollow it out for a windproof shelter.
  • Block the entrance with a snow wall to trap heat.
  • Beware: Ventilation holes are essential to avoid suffocation.

How to Make Your Shelter Warm and Safe

  1. Insulate the Ground – Use thick layers of leaves, pine boughs, or clothing to keep heat in.
  2. Windproof Your Walls – Overlap natural debris and add mud or clay to seal gaps.
  3. Build a Fire Safely – Place it outside with a reflector wall to project heat without choking you with smoke.
  4. Camouflage (If Needed) – In a hostile environment, cover your shelter with natural materials to stay hidden.
  5. Avoid Traps – Don’t build under dead trees or near unstable cliffs.

Essential Tools (Even Minimalists Should Carry)

  • Tarp or Emergency Blanket – Ultralight, multipurpose shelter base.
  • Fixed Blade Knife or Hatchet – For cutting branches and stakes.
  • 550 Paracord – Strong, compact, and invaluable for shelter frames.
  • Firestarter – Because cold hands make matches useless.
  • Compact Shovel – Doubles for snow caves or digging drainage.

5-Minute Shelter Checklist (Always Keep Handy)

  • Check the weather, wind, and hazards.
  • Find high, dry ground with natural cover.
  • Gather sticks, leaves, and insulating material.
  • Build a wind-facing barrier or roof first, then insulate.
  • Start a fire or secure a heat source before dark.

The Bottom Line

When things fall apart, your shelter isn’t just a roof—it’s the line between life and death. A good survivalist doesn’t wait for rescue; they build, adapt, and endure.

Learn these skills now, practise them before the storm hits, and you won’t just survive—you’ll outlast the panic.