Introduction
If you think the taps will keep running forever, you’re gambling with your life. Water — the most basic resource — is often the first to vanish when disaster strikes. Whether it’s a grid failure, a chemical spill, or a breakdown in supply chains, clean water can turn scarce overnight. In this guide, I’ll walk you through the essential methods of water purification — tools, techniques, and mindset — so you’re never left desperate or dehydrated.
Why Water Purification Should Be Every Prepper’s Priority
It only takes three days without water for most people to collapse. Modern cities depend on fragile infrastructure: a few hours of power cuts, and pumps stall; one industrial accident upstream, and your tap water’s poisoned. By the time the government tells you “it’s safe again,” you could be days into dehydration or illness.
What can go wrong when you ignore purification?
- Waterborne diseases like cholera, giardia, and dysentery.
- Chemical contaminants from industrial leaks.
- Panic buying of bottled water (gone in hours).
- Rivers and lakes crawling with parasites.
The truth? You can’t afford to trust what you drink — not when the world feels this brittle.
Methods of Water Purification Every Prepper Must Know
1. Boiling – The Last Resort (But Always Works)
Boiling remains the simplest, most effective way to kill pathogens. Bring water to a rolling boil for at least one minute (three if you’re above 2,000 metres). It won’t remove heavy metals or chemicals, but it will save you from parasites and bacteria.
Checklist for Boiling Water:
- Heat source (stove, fire, or portable burner).
- Metal pot or heat-resistant container.
- Time — don’t rush; pathogens die only at sustained high temperatures.
2. Filtration – Fast, Portable, and Reliable
Modern filters can remove 99.9% of bacteria and protozoa, some even heavy metals and microplastics. Brands like Sawyer Mini or LifeStraw weigh nothing and work straight out of the box.
Quick Gear Guide (Field-Tested):
- Compact straw filters for bug-out bags.
- Gravity filters for campsites.
- Spare filter cartridges (they clog fast in muddy sources).
Anecdote: I’ve seen groups scoff at carrying filters, only to be struck down by giardia on day two of a trek. The toughest lads drop quickest when diarrhoea hits.
3. Chemical Treatment – The Lightest Option
Chlorine dioxide tablets and iodine drops can make sketchy water safe. They’re small, cheap, and lifesaving — but they leave a taste. Always carry a few in your kit as a fallback.
Steps for Chemical Purification:
- Collect clear water (pre-filter through cloth if muddy).
- Add tablet or drops as directed.
- Wait the full reaction time (often 30–60 minutes).
- Keep the bottle sealed while treating.
Advanced Prepping: Rainwater, Distillation, and Beyond
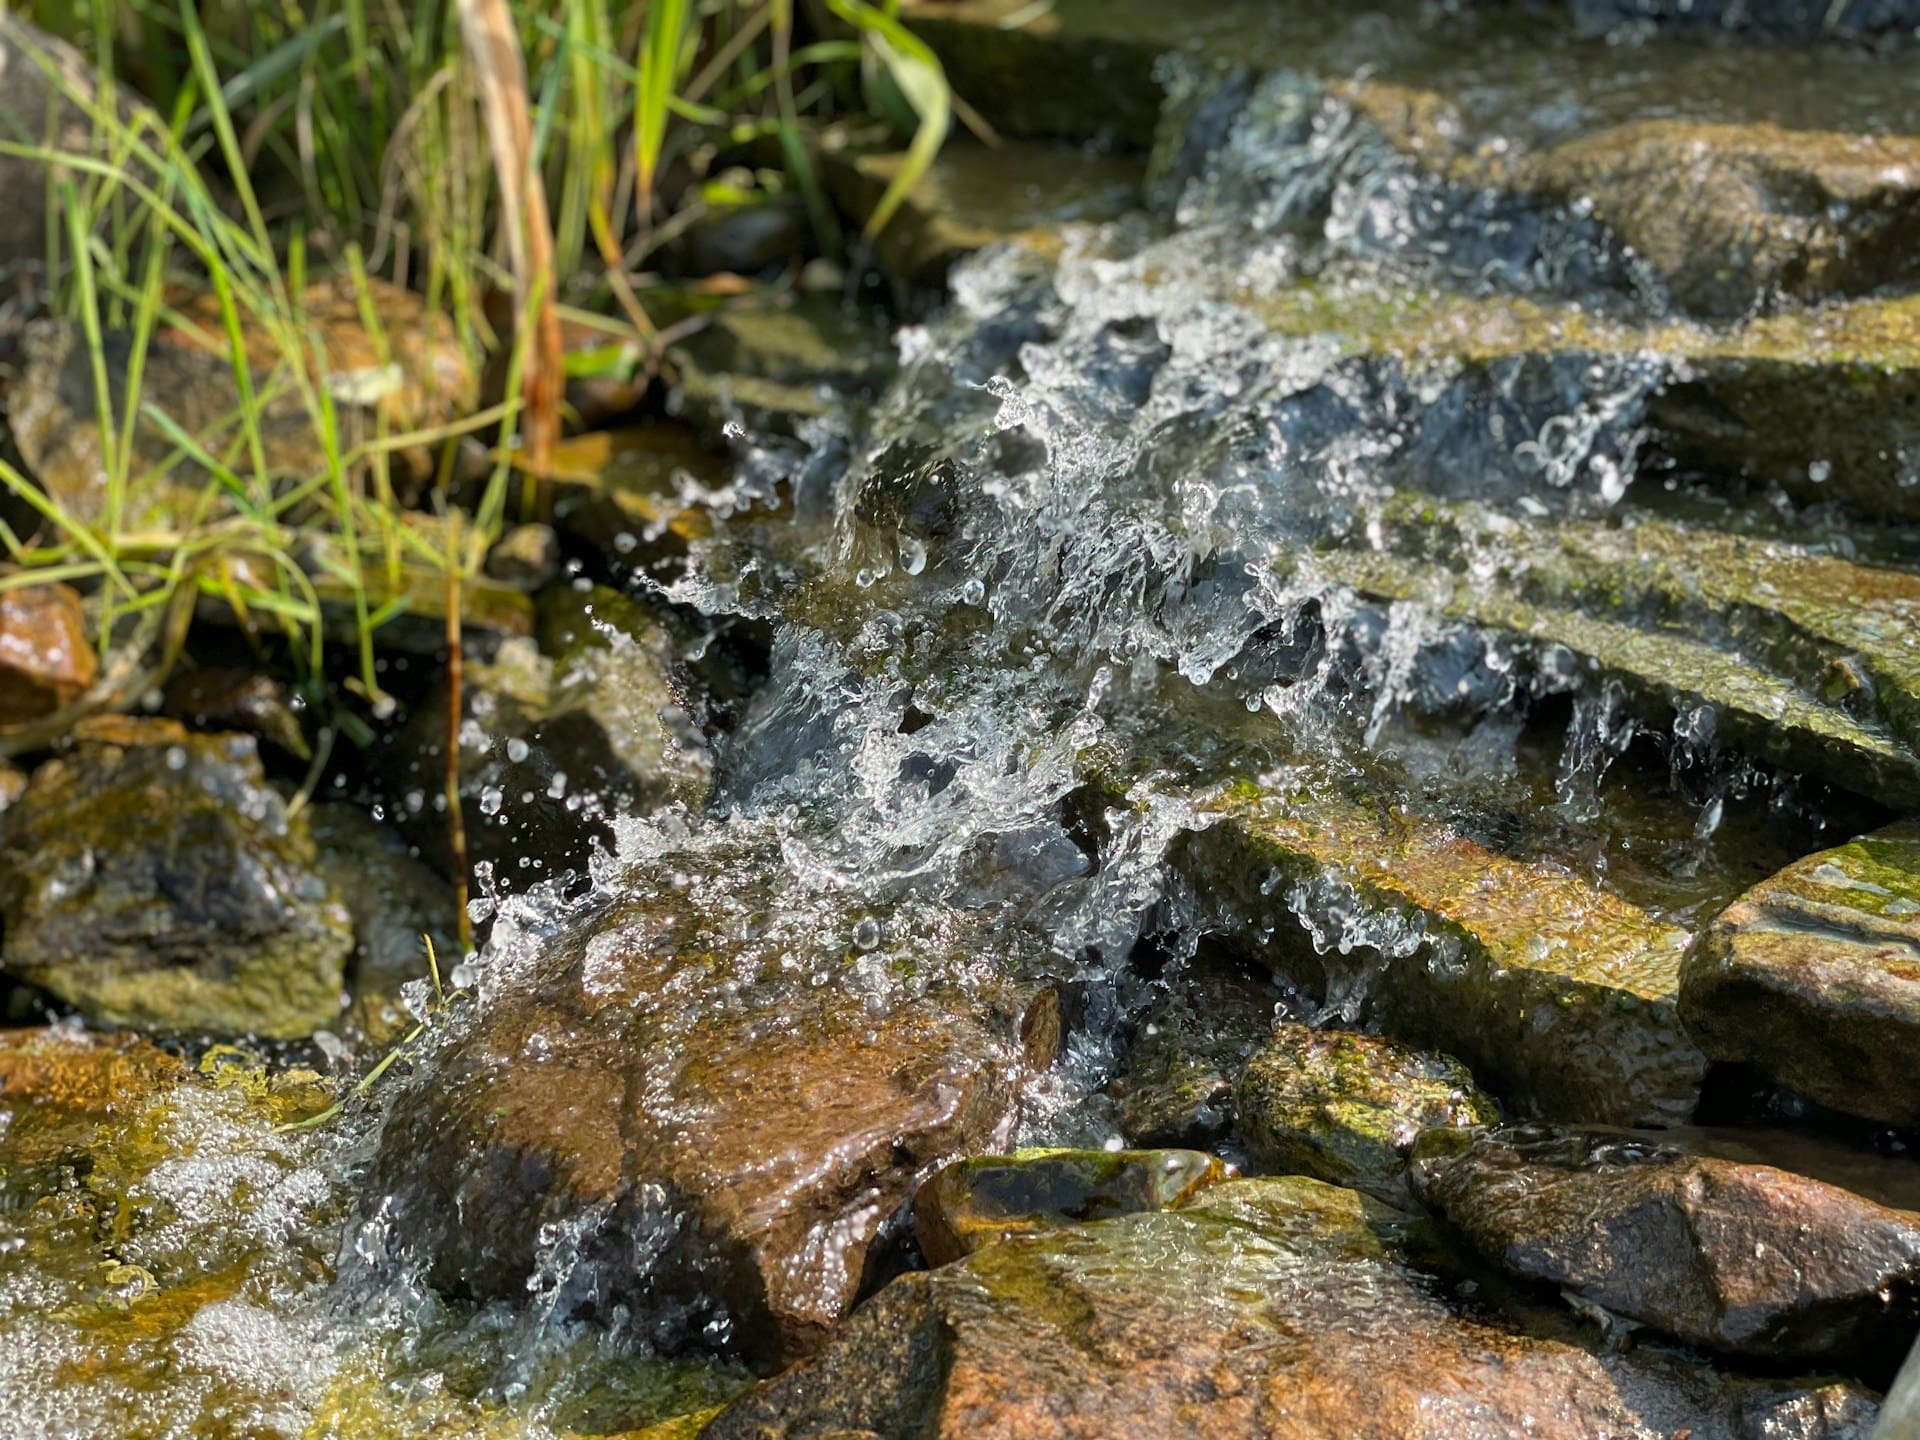
When society stumbles for more than a few days, even clean rivers and lakes will be stripped bare or fouled. Collecting rainwater in barrels (with food-grade liners) can keep you ahead of the chaos. For chemical contamination, a basic distillation rig — a pot, tubing, and container — can turn deadly sludge into drinkable water.
Rainwater Checklist:
- Food-grade barrels with secure lids.
- Mesh screens to block debris.
- First-flush diverters (to ditch roof grime).
Final Words
Don’t wait for a crisis to test your gear. Boil some dirty stream water, use that filter, practise with tablets — now, while the taps still run. Because one day soon, they might not. When that happens, those who prepared will drink clean while others line up, desperate and coughing, for government rations.
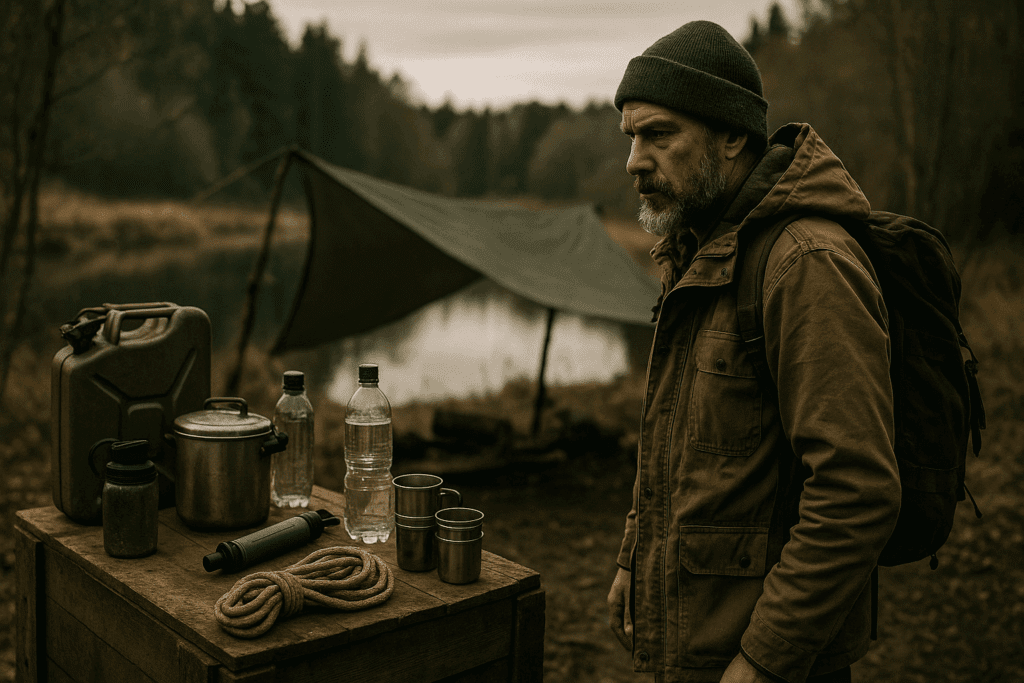 portable water filter at a river for survival." class="wp-image-12" srcset="https://survivalreadyguide.com/wp-content/uploads/2025/07/20250721_0002_Survival-Water-Guide_simple_compose_01k0n12as8enqvha06bqbb6y0y-1024x683.png 1024w, https://survivalreadyguide.com/wp-content/uploads/2025/07/20250721_0002_Survival-Water-Guide_simple_compose_01k0n12as8enqvha06bqbb6y0y-300x200.png 300w, https://survivalreadyguide.com/wp-content/uploads/2025/07/20250721_0002_Survival-Water-Guide_simple_compose_01k0n12as8enqvha06bqbb6y0y-768x512.png 768w, https://survivalreadyguide.com/wp-content/uploads/2025/07/20250721_0002_Survival-Water-Guide_simple_compose_01k0n12as8enqvha06bqbb6y0y.png 1536w" sizes="(max-width: 1024px) 100vw, 1024px" />
Want to make sure you’re ready? Subscribe to get our full survival water checklist — a printable guide covering every method, from rain barrels to DIY distillers.